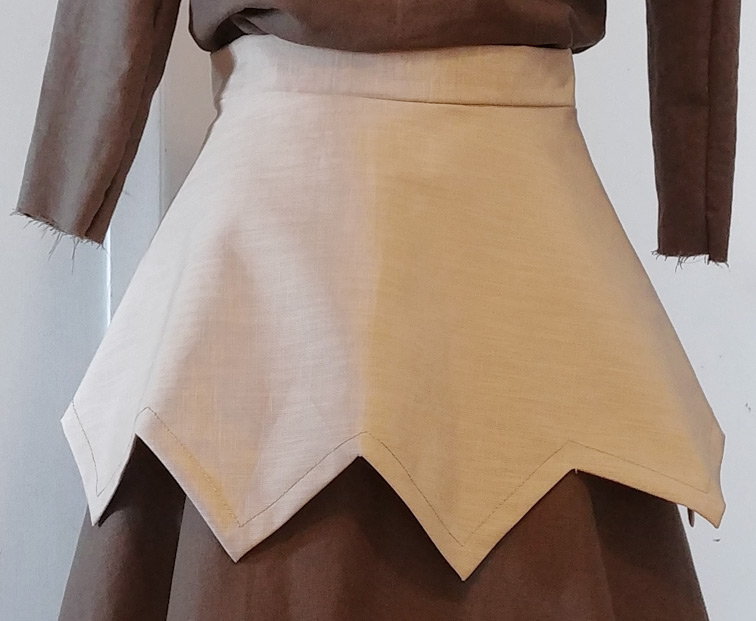
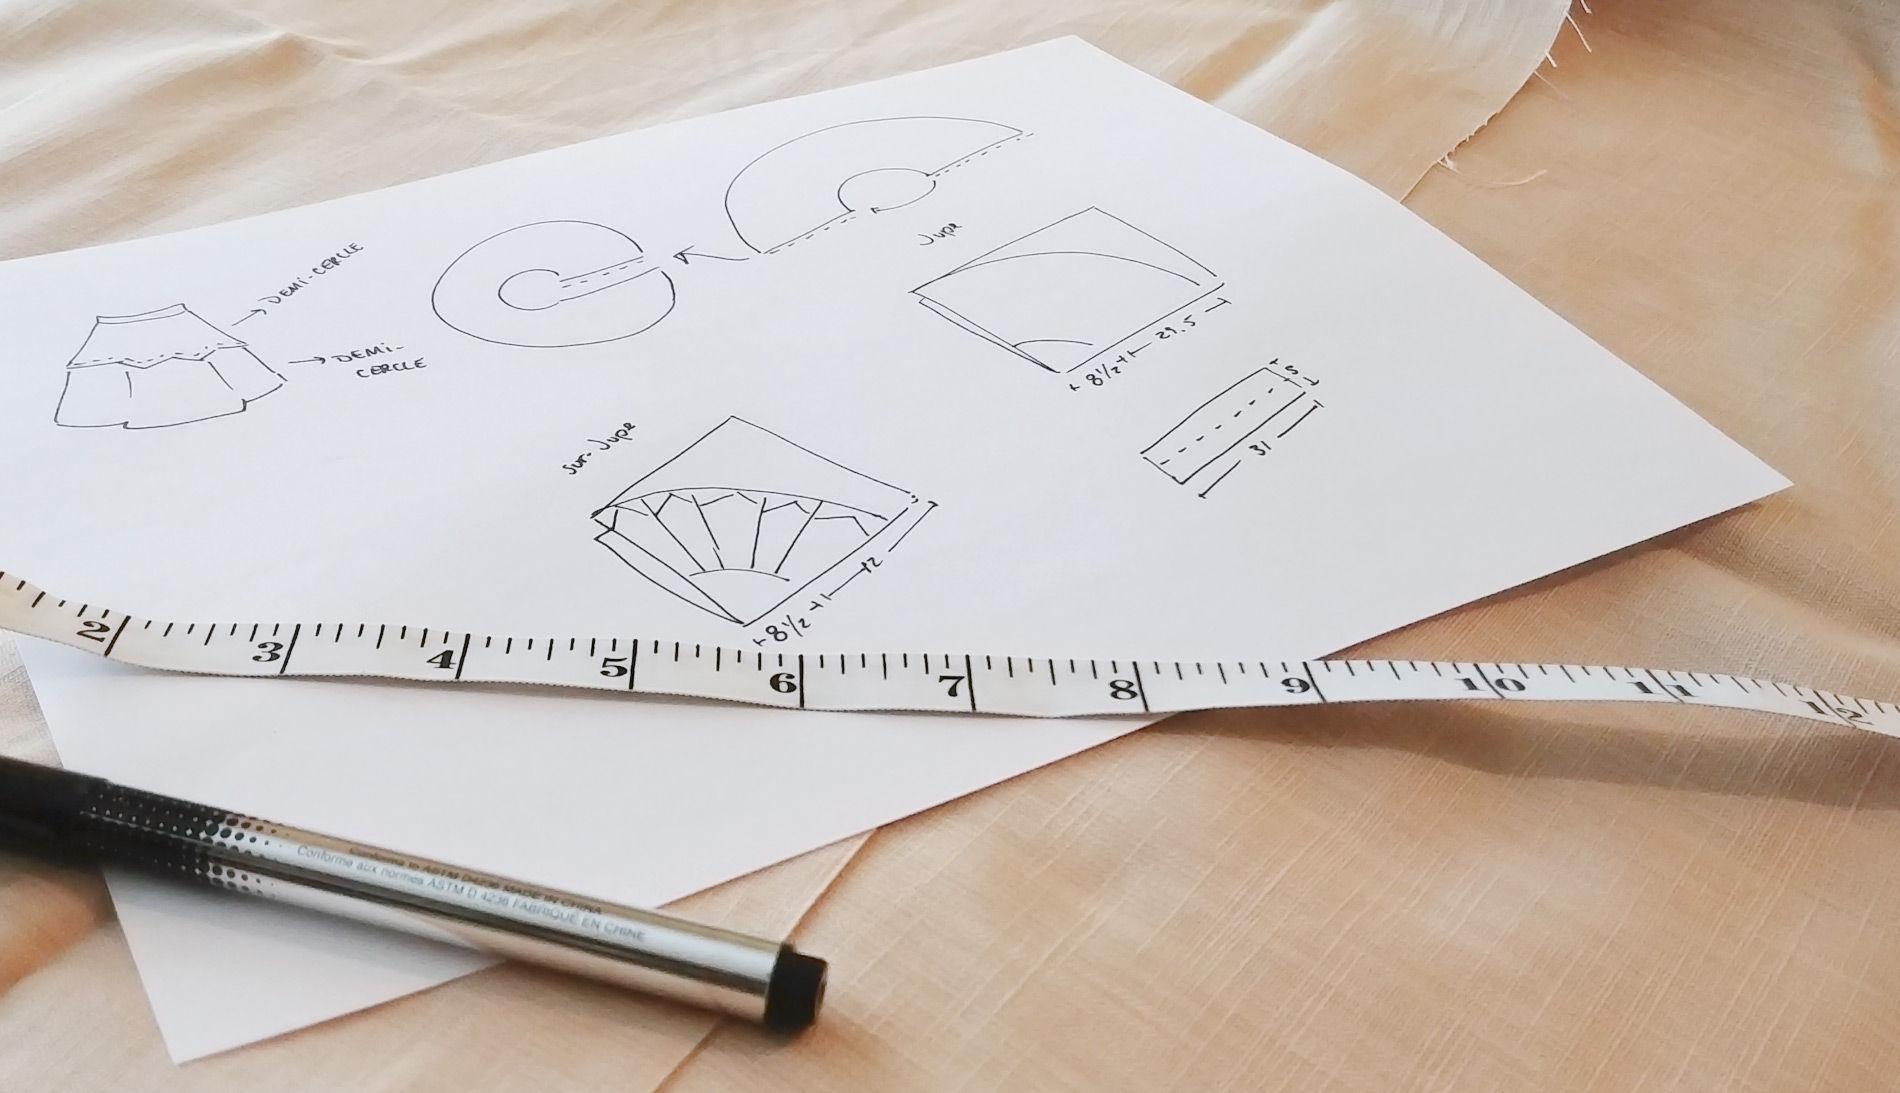
Second piece of the costume: the overskirt. Having not found a linen of the desired color, I opted for another type material whose texture is quite pronounced. This same fabric is used for the cloak and boots.
Using the previous measurements in the making of the skirt, I planned the size of the fabric to be cut for the overskirt, adding an extra for seam allowance. I also planned the number of pointed sections to be formed at the bottom.
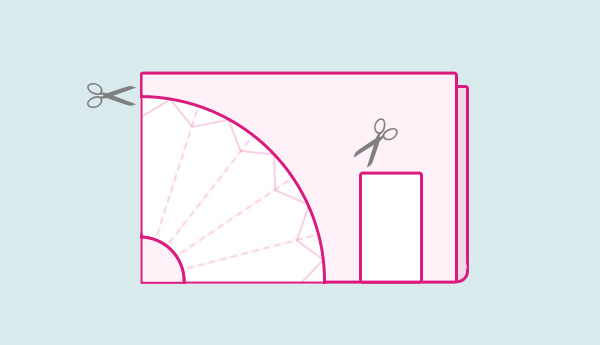
Like for the skirt, the whole thing is composed of a single piece of fabric in the form of a half circle.
Having calculated 5 points per quarter circle, I folded the fabric the same number of times in equal parts in order to draw a pattern for them. On this pattern, I foresee the space needed for a double edge.
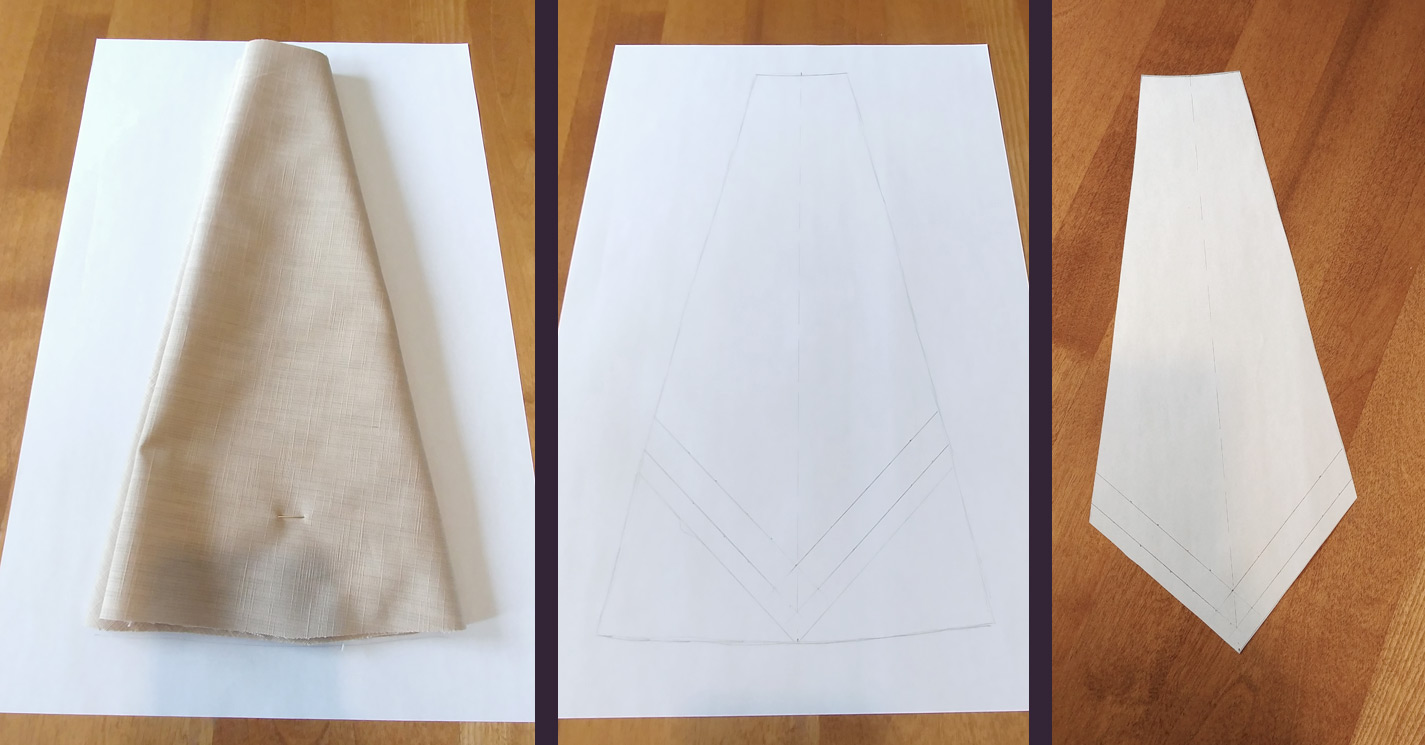
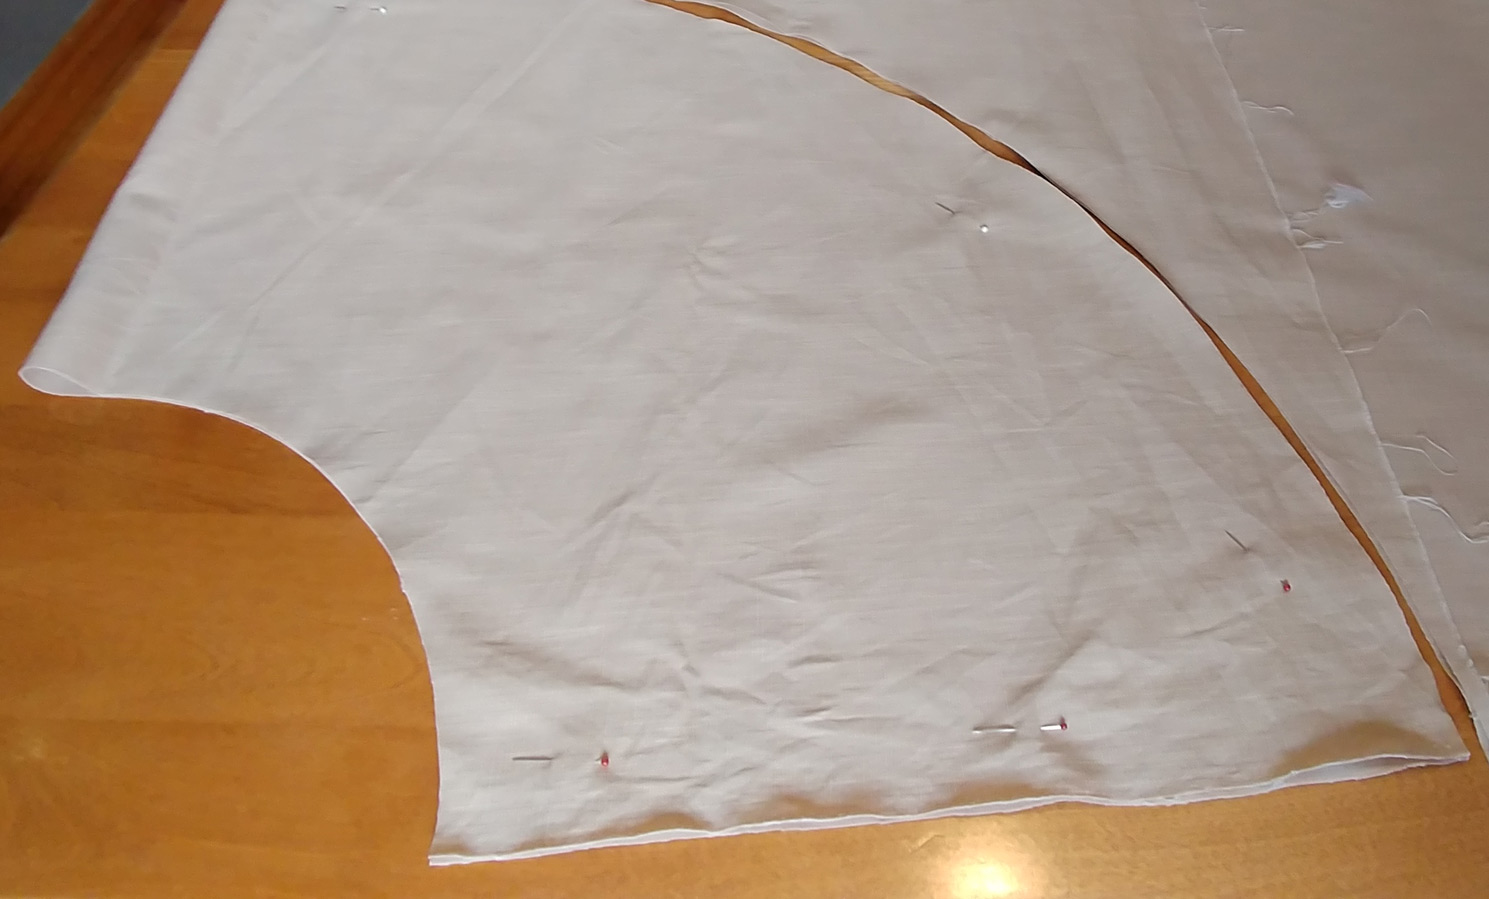
Using an erasable marker, I summarily mark the shapes on the fabric. The line fades quickly in places but it remains visible enough for cutting.
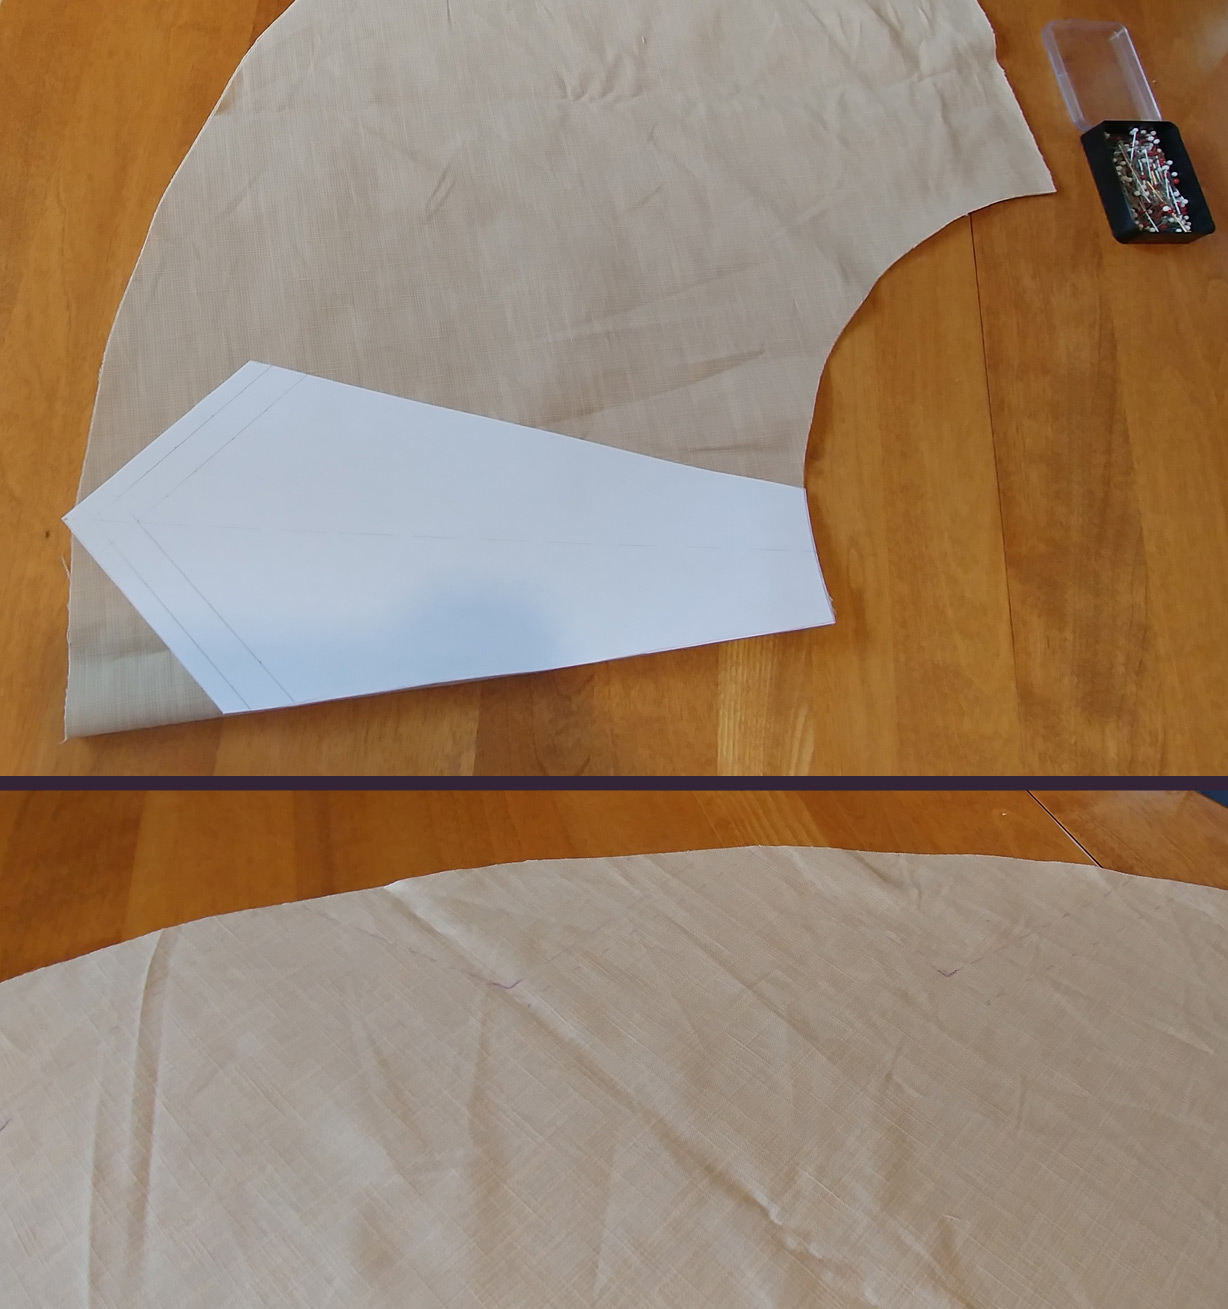
Once marked, I cut all along the line. In the concave sections, I cut a small incision to allow the border to be folded about half a centimeter inwards. The fold is pressed with a hot iron.
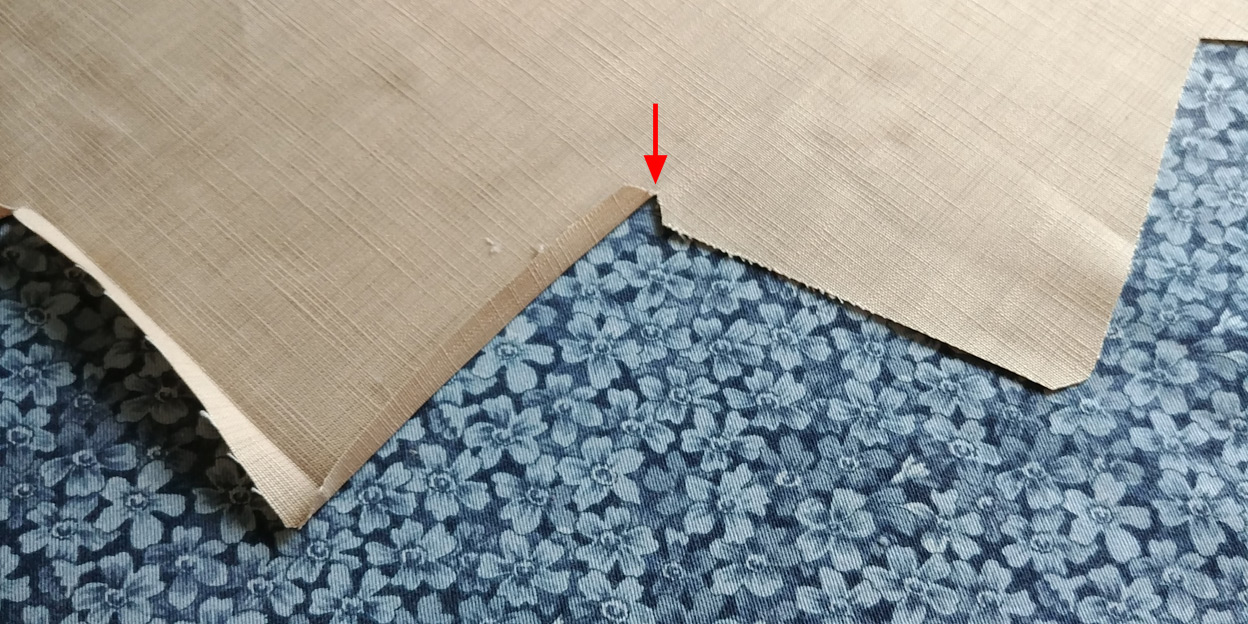
To allow the second fold, I had to enlarge the incisions cut previously (bad planning on my part the first time). This second 1 cm fold is also pressed.
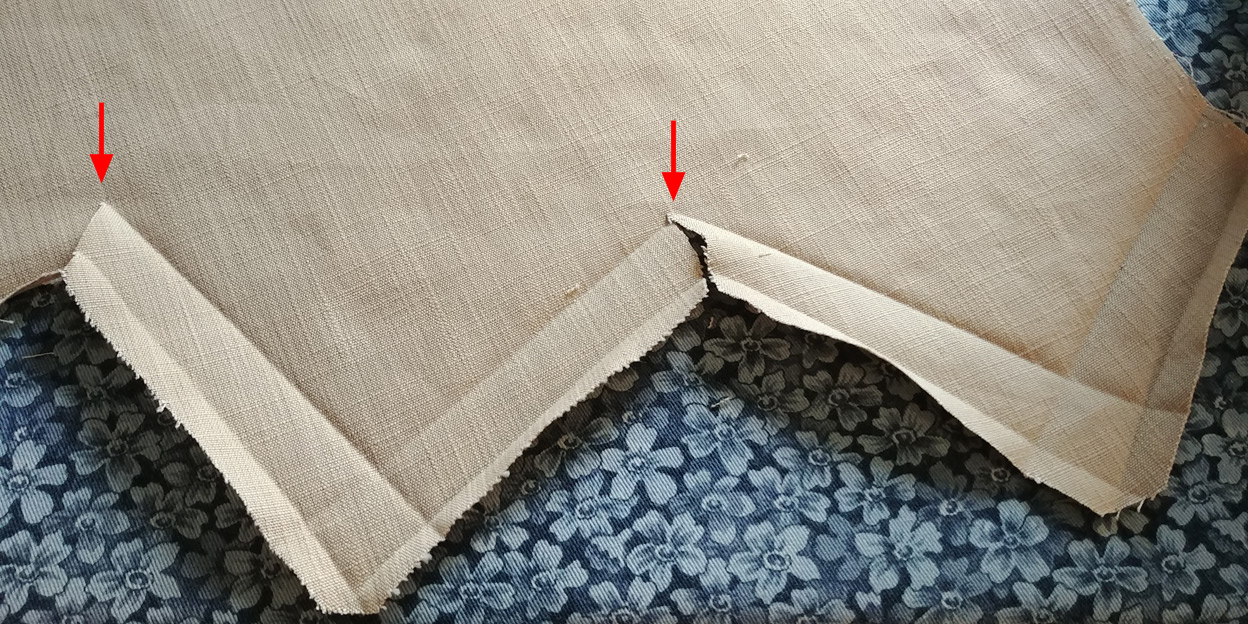
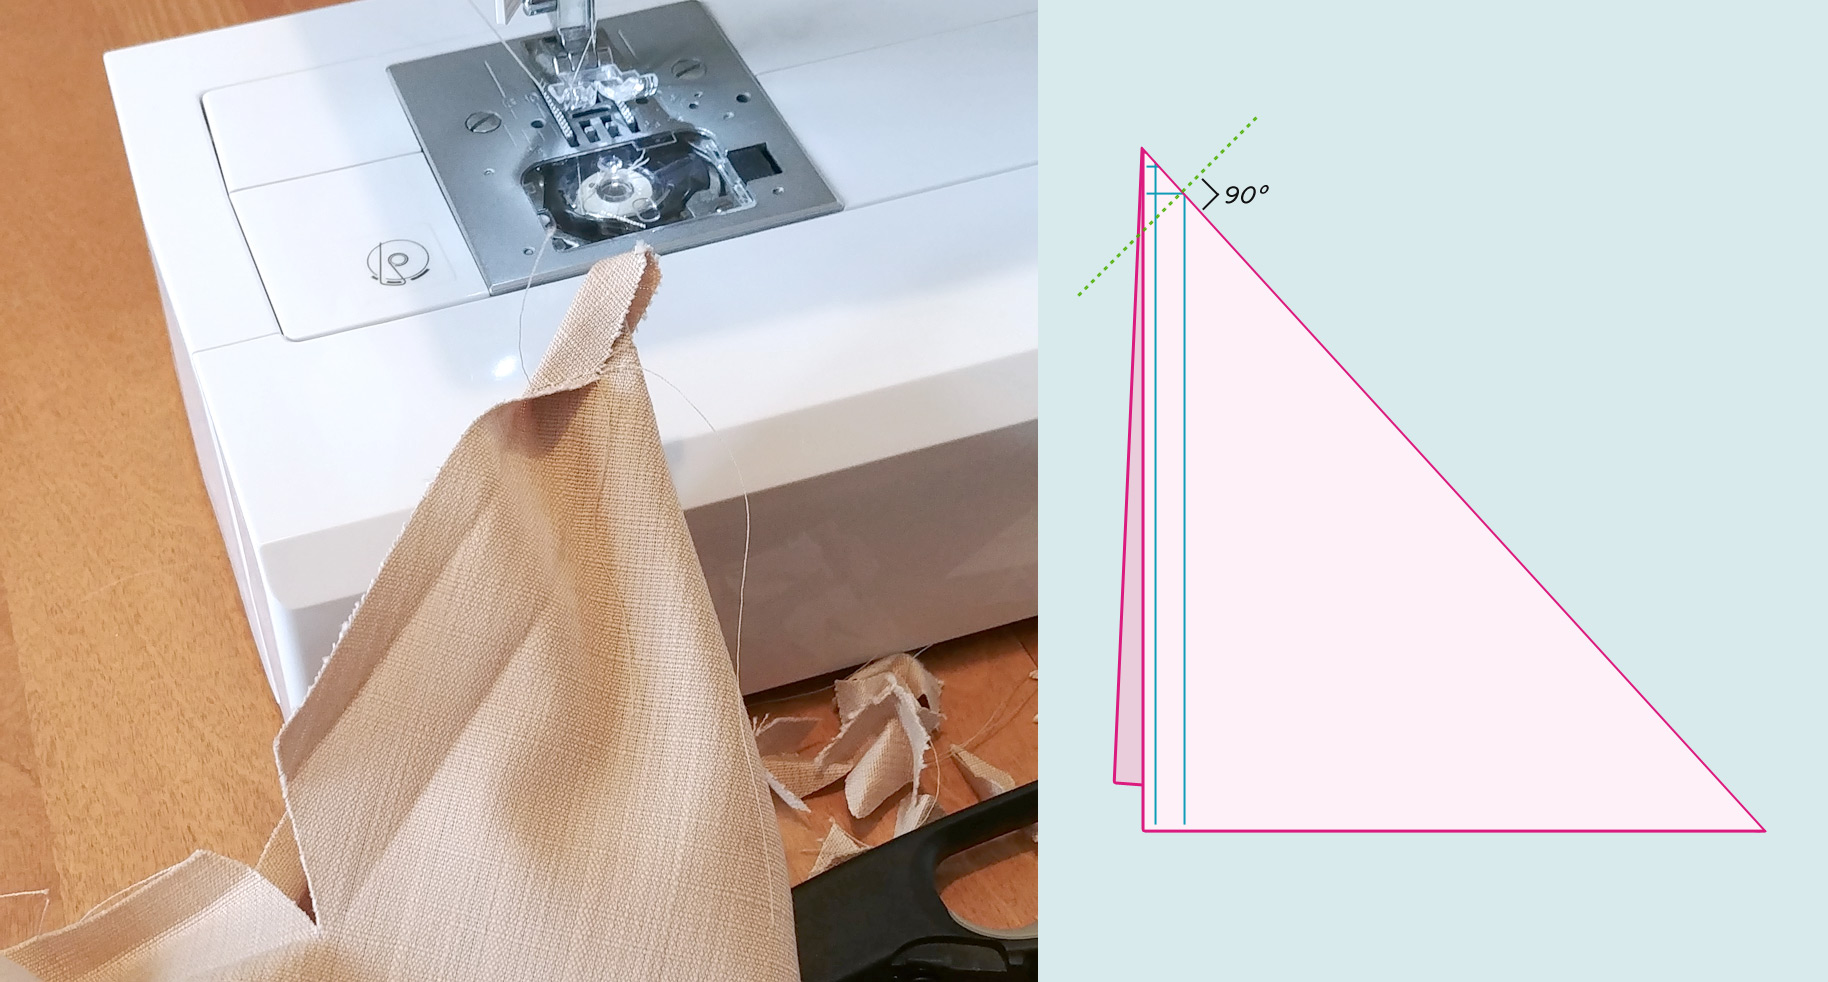
To form beautiful points once the fabric turned over, I sewed the end of each to make mitered corners, at the height of the second folds. The excess of fabric is then cut.
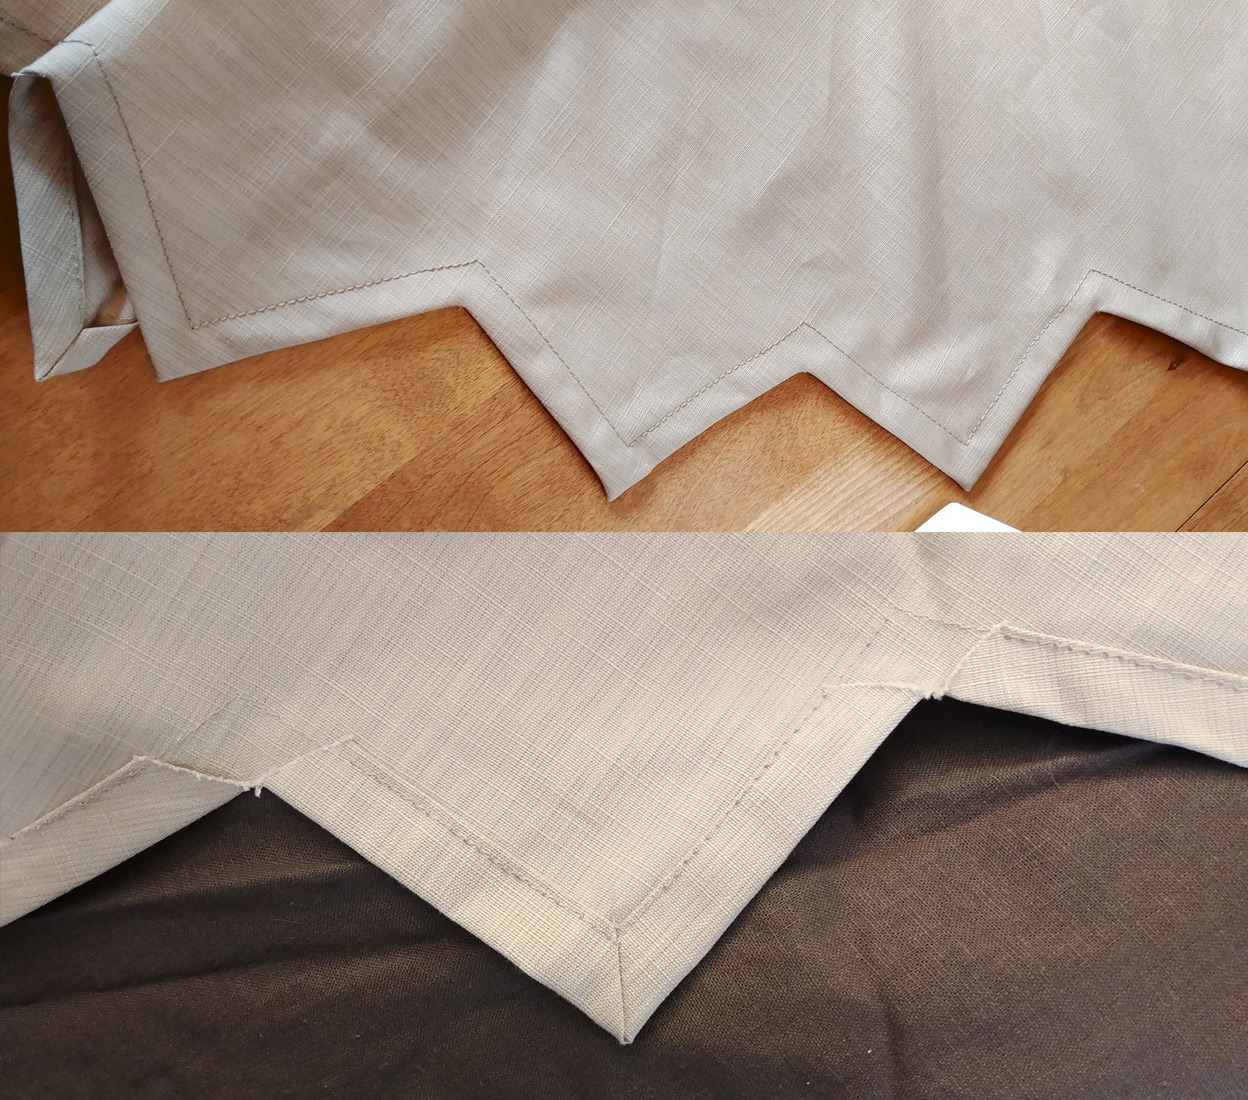
The edges are folded and secured by pins on the underside of the fabric. Using a sturdy thread (like the one used for finishing jeans), I stitched on the right of the fabric at 0.75 cm from the edge with a straight stitch, set to the maximum length allowed by my machine.
Despite the precautions I took to measure the distance of my folds from the edge, I missed it in a few places. Luckily this did not make ledges turn around. I will have to pay more attention next time for this type of finish.
Last touch, installation of the zipper, band for the waist and staple.
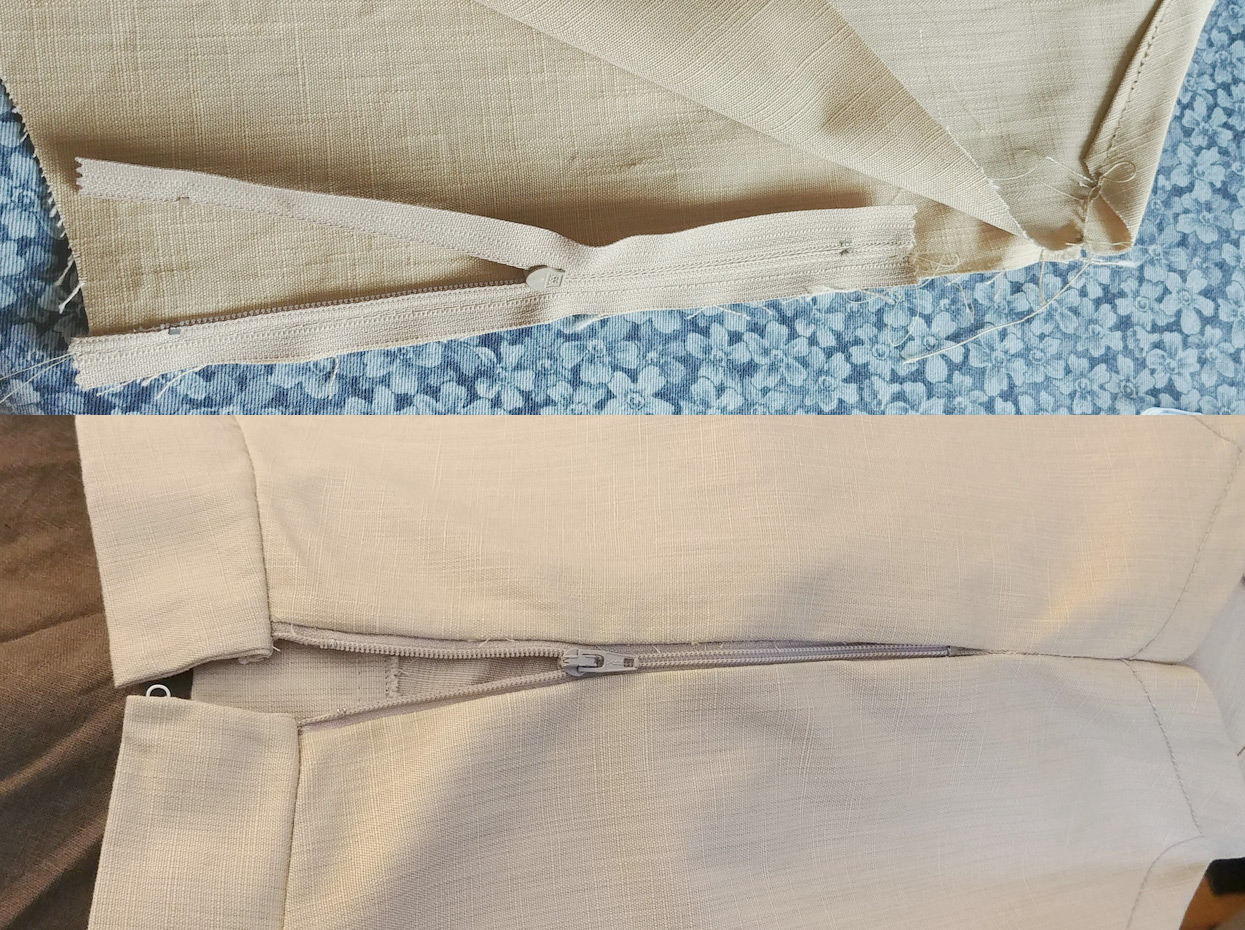
The piece is now finished!
