The main piece
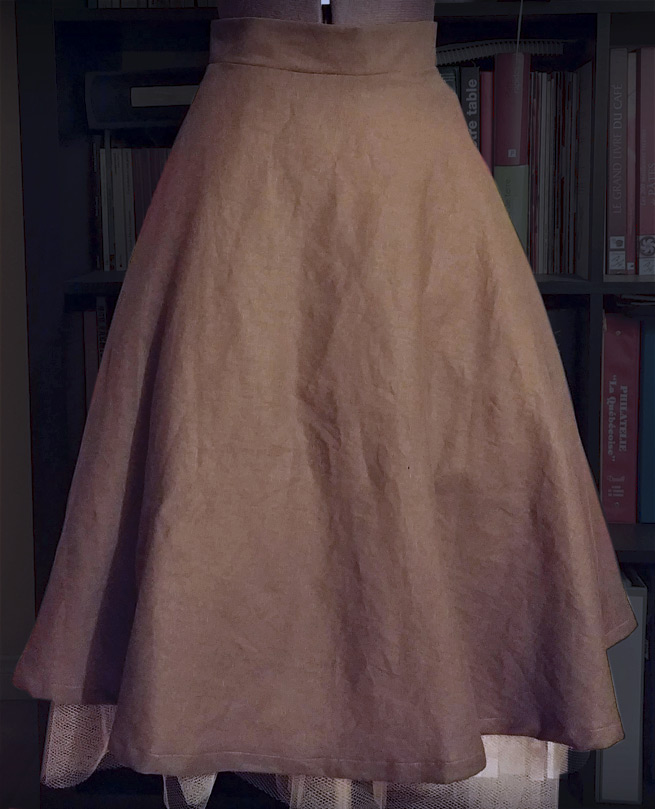
For the base of the garment (the skirt and the sweater), I opted for a light and airy fabric, the linen, to obtain a look that can recall some materials used in medieval times. To make these two pieces of clothing, I had just enough fabric with 3 meters
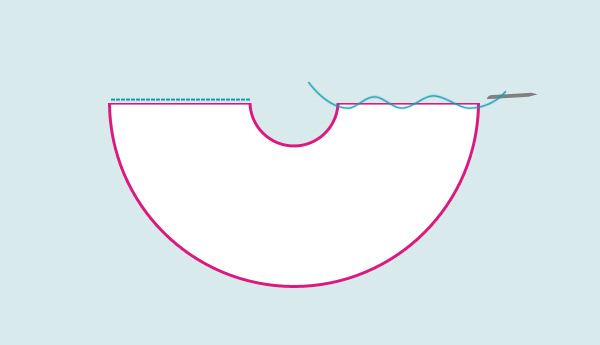
After some research, I decided to cut the fabric of the skirt in the form of a half circle. Once both sides sewn together, the circular shape would give just enough lousse to wear it with a crinoline and give it a little volume.
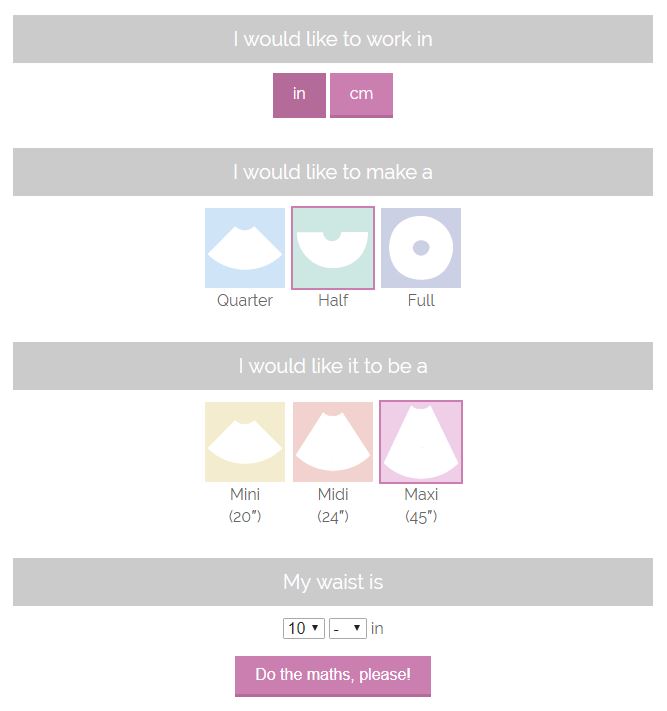
After taking the measurement of my leg (waist to mid-calf) and my waist, I used this online calculator to determine how far I had to cut the hole to get the waist perfect.
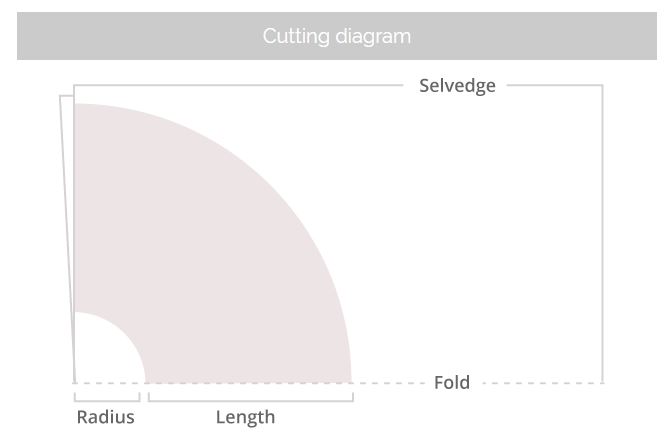
From the data obtained from the calculator, I made the necessary marks on my fabric and cut the shape. I also cut a band for the waist.
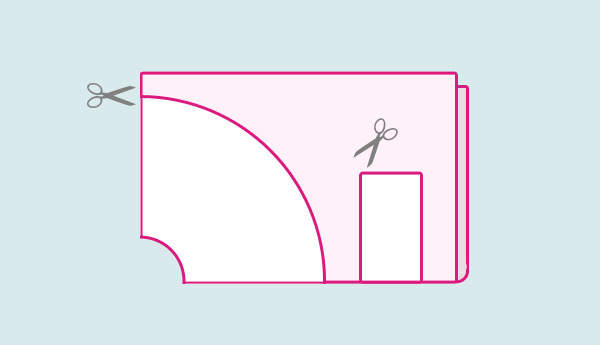
Once cut, I sewed the long side of the half-circle on the wrong side of the fabric. Then I installed the waist. To prevent the fabric from fraying, I sewed a second time on both seams with a zigzag stitch. I finished the skirt by sewing the edge.
Decoration
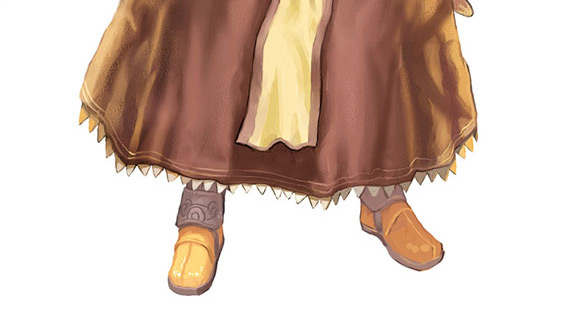
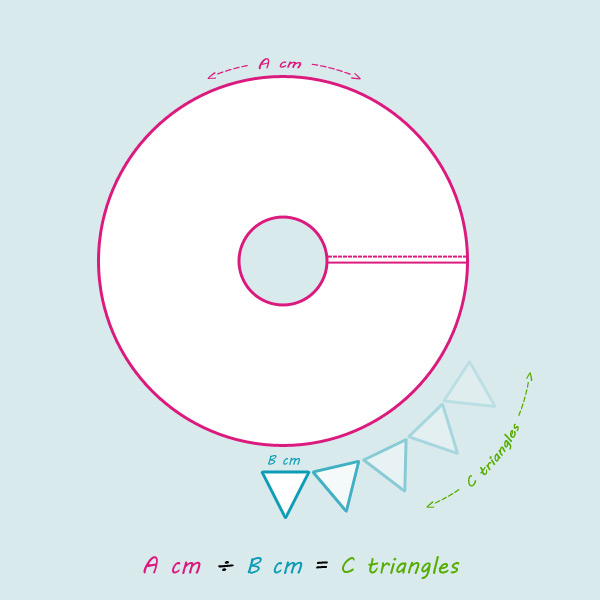
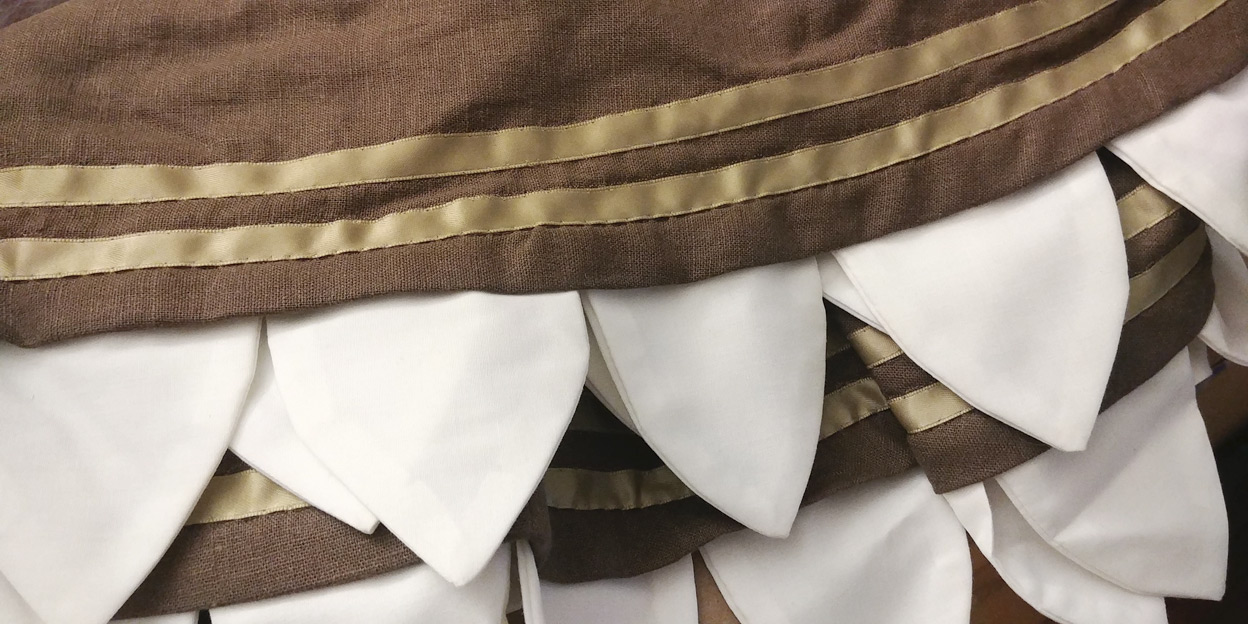
At the bottom of the skirt is a series of small triangles. I started by making a small pattern on paper to determine the shape and size of the triangle (not forgetting a margin for sewing!).
I then calculated the circumference of the bottom of the skirt, then divided that number by the width of my triangle to get the amount of triangles I had to cut.
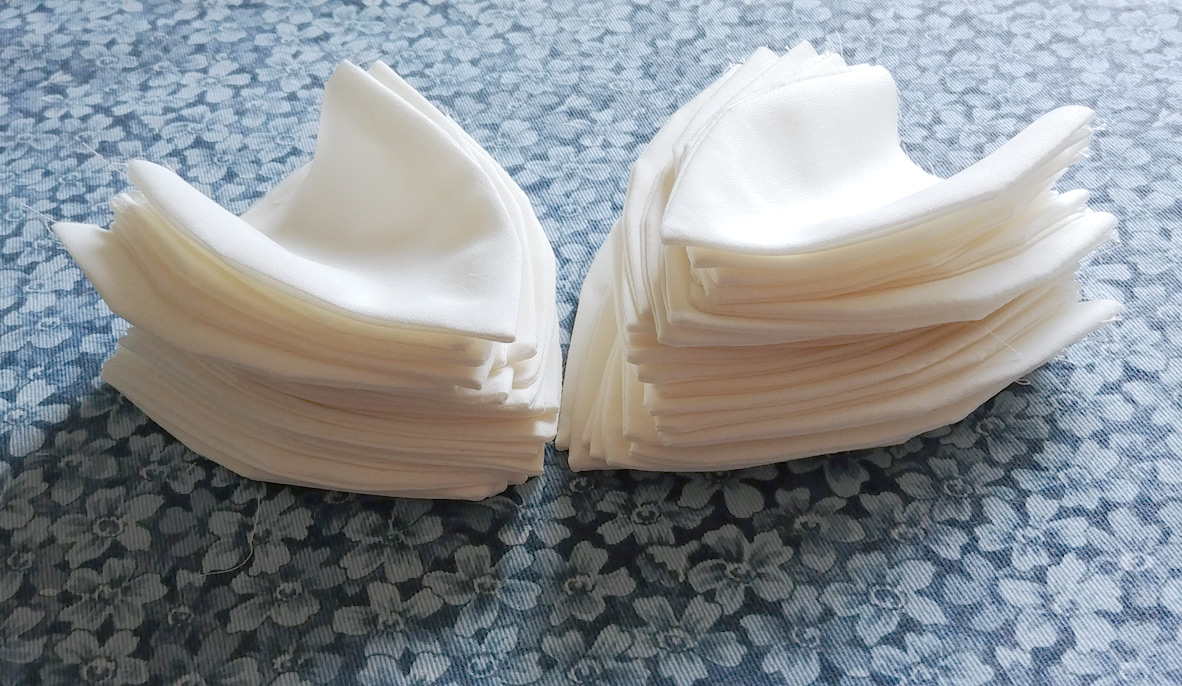
It was now time to cut and sew hundreds of triangles! For the choice of fabric, I opted for a polyester. And to save time when cutting, I folded the fabric on itself a few times to form 5 layers in order to cut several triangles at a time.
Although I had calculated that I would need about 40 triangles, I had to cut a lot more. These being doubled to give them more firmness, I cut double the material. I also planned some extras in case of issues. In the end, it’s 100 triangles that I cut.
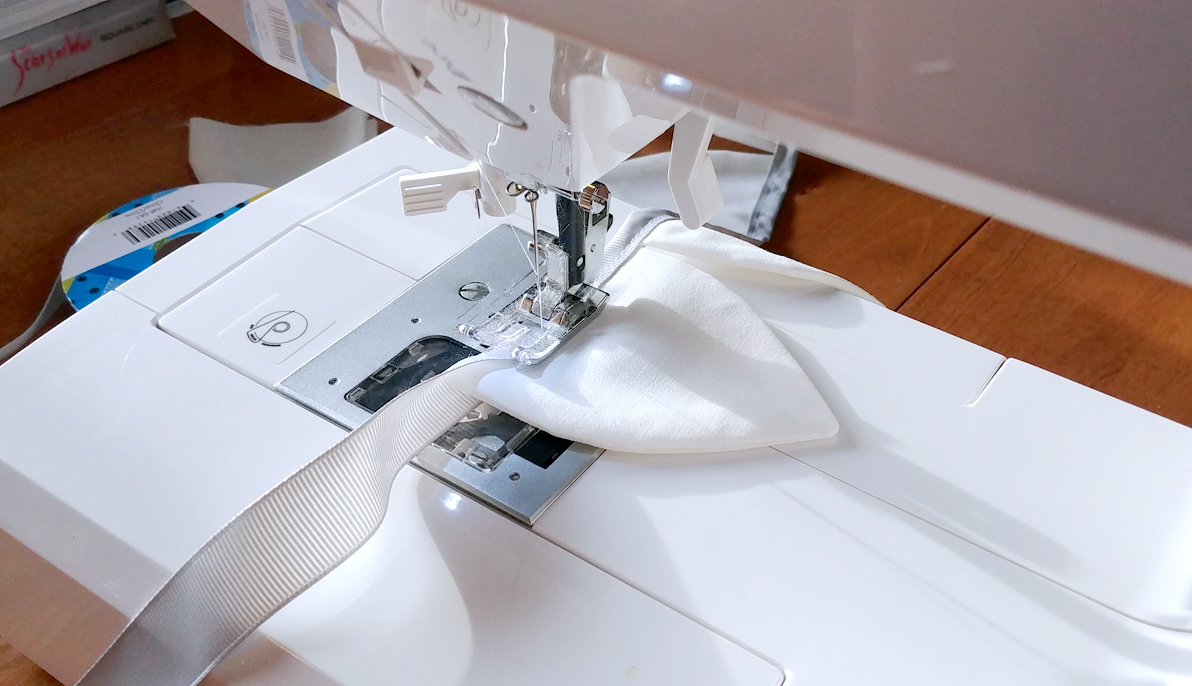
To form the final shape of the triangles, I sewed together two triangles (good side of the fabric against good side) that I later returned to give them a little volume and have a more rounded tip. Before turning them over, I clipped and cut off the excess fabric at the tip. This fabric removal gives a better shape. With a sharp object, I push inside the triangle to stretch the tip.
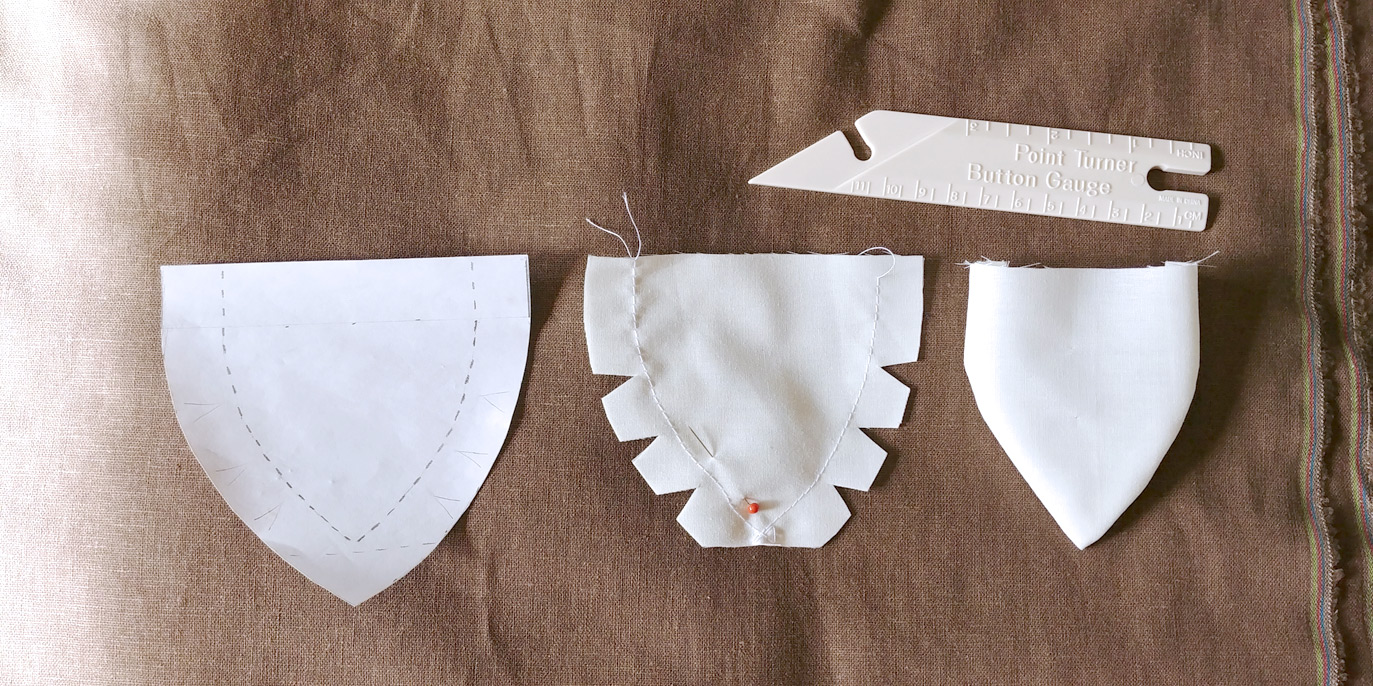
And voilà!
Assembly and finishing
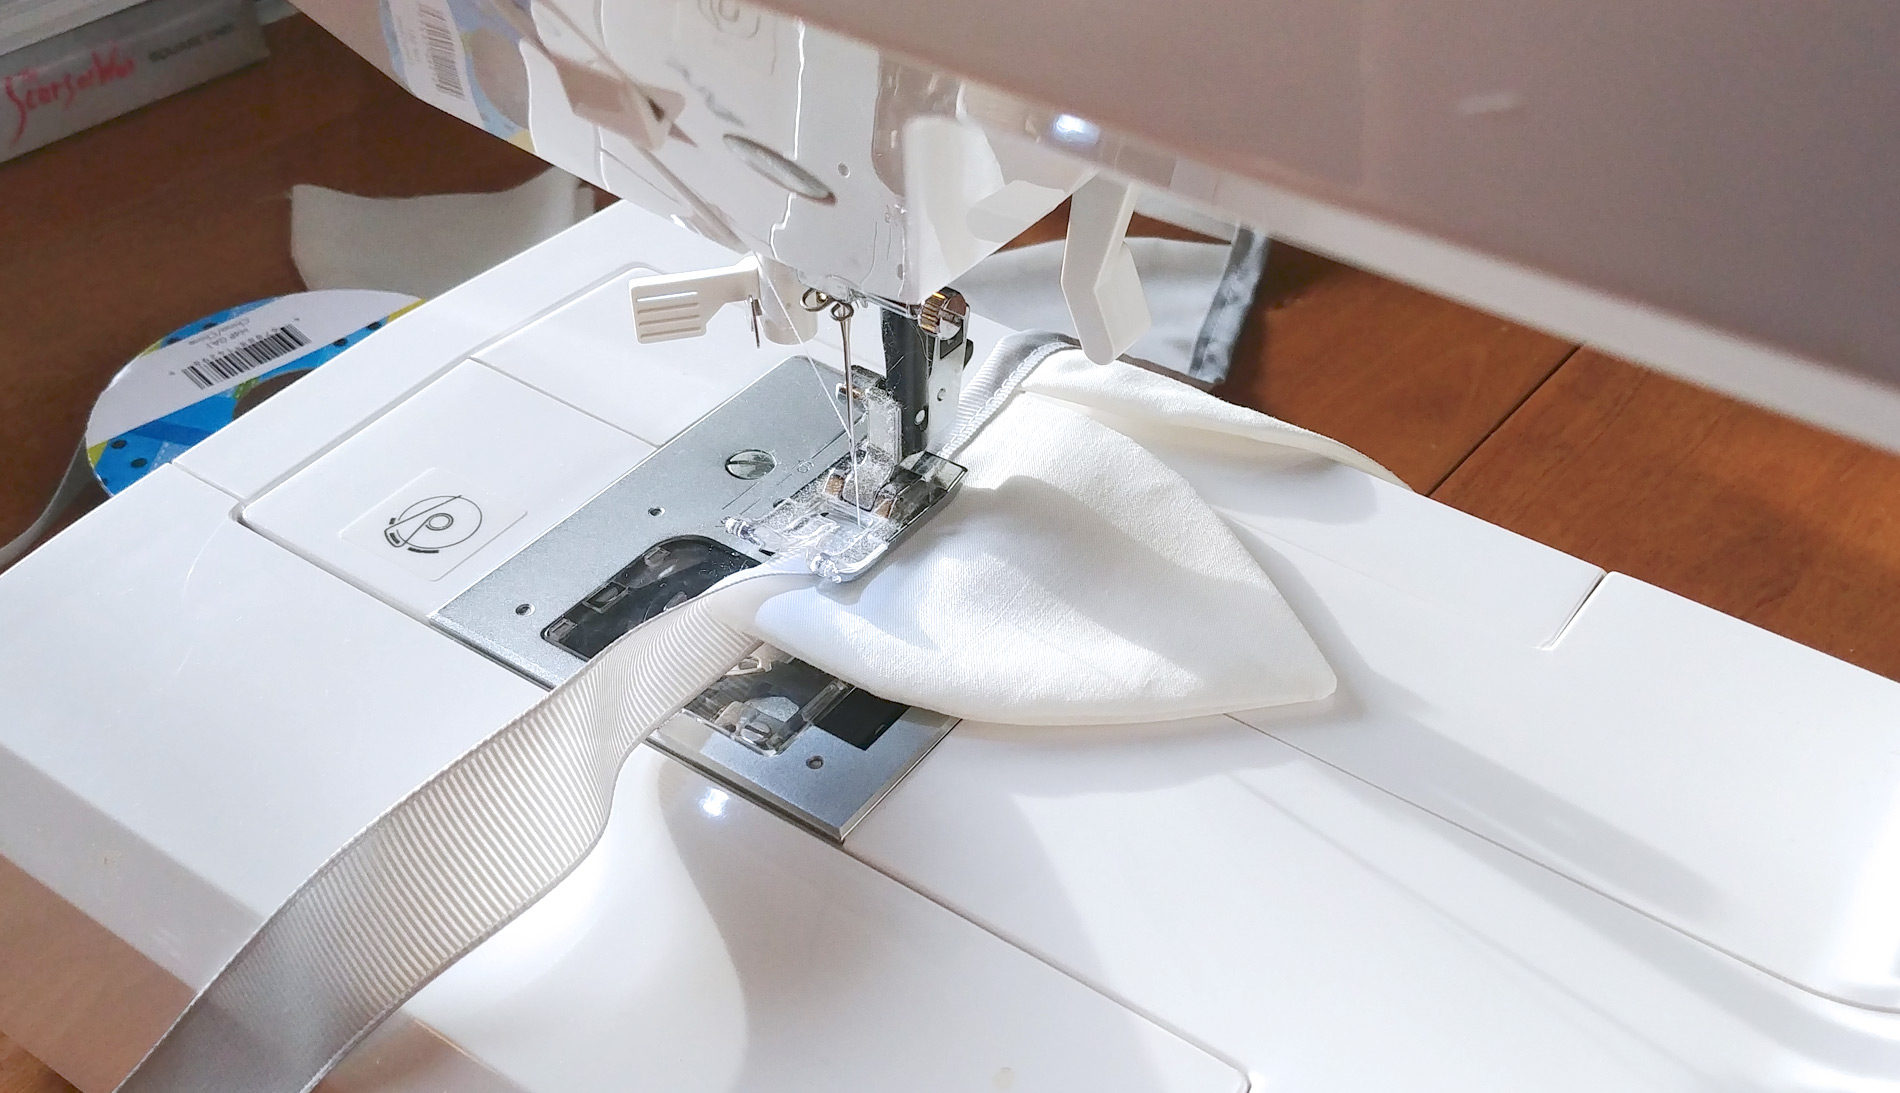
Before assembling the triangles on the skirt, I first sewed them on a half-inch ribbon to stabilize them. The ribbon was sewn on the skirt with an invisible stitch.
Last step, I added the two rows of golden ribbon on top, making sure that one of them covered the rim seam. I would have liked to use glue instead of sewing them, however, the glue went through the ribbon and was visible even after drying because it caused a color change. That’s why I ended up sewing the ribbon.
I used a transparent wire on the top (taking care to adjust the tension of the machine to avoid breaking it) and kept a brown polyester thread underneath. I used the invisible stitch parameter that I set at the smallest setting and sewn along the ribbon, on the outside; two needle strokes next to the ribbon, one on the ribbon.
Small issues along the way
Once all assembled, I noticed that the fabric of the triangles could be a little transparent to the light and let a glimpse of the overflow of fabric inside. I will consider thicker fabric next time …
The sewing of one of the golden ribbons was difficult. Being positioned partly on the seam of the rim of the skirt, the thickness was not equal and the presser foot had difficulty to hold the fabric in place and move it forward.